 Jev AI
Flux 3 Image on Jev AI
Flux 3 Image for detailed briefs and multiple visual references
Bring your creative brief and supporting images together with Flux 3 Image on Jev AI. Describe the scene, add up to ten optional references, and choose a canvas and resolution. Use the workspace for image concepts that need clear relationships between a subject, its surroundings and the details you want to emphasize.
What does Flux 3 Image offer on Jev AI?
Flux 3 Image is an image generation model with text and reference-image inputs. Jev AI supports a prompt of up to 5,000 characters, up to ten references, 1K, 2K or 4K resolution settings, and an aspect ratio list that includes Auto. Each request generates one PNG image.
Multiple references are useful when different pictures explain different parts of a brief. One may show the subject, another the environment, and another the desired material or visual treatment. Make those roles explicit in the prompt. A large reference allowance creates room for context, but the most useful selection is the one that supports a coherent scene without competing instructions.
Flux 3 Image can also be used for text-only exploration. Describe the subject and its relationship to the surroundings, then add the composition, light and finish that make the idea distinctive. For a poster concept, explain where the visual focus should sit and where any headline will be placed. For a product scene, prioritize the object and its relationship to the setting.
The model workspace keeps input choices beside the generation control and uses your selected settings to show a credit estimate. Its purpose is to help you develop and evaluate a visual direction. Exact object fidelity, lettering and layout still need review in the actual result; a detailed prompt is a creative instruction rather than a guarantee that every element will be reproduced exactly.
| Parameter | Specification |
|---|---|
| Input | Required text prompt; optional reference images |
| Prompt length | 1–5,000 characters |
| Reference images | 0–10 images; PNG, JPEG or WebP; up to 10 MiB per image |
| Combined upload limit | 100 MiB across selected references |
| Resolution | 1K, 2K, 4K; default 1K |
| Aspect ratio | Auto, 21:9, 2:1, 16:9, 3:2, 7:5, 4:3, 5:4, 1:1, 4:5, 3:4, 5:7, 2:3, 9:16, 1:2; default Auto |
| Output | 1 PNG image per request |
Build a coherent visual brief with Flux 3 Image
Think about the relationships a picture needs to communicate, then select the inputs that explain them. These illustrations show creative directions rather than model benchmark outputs.
Explain how the parts of a scene fit together
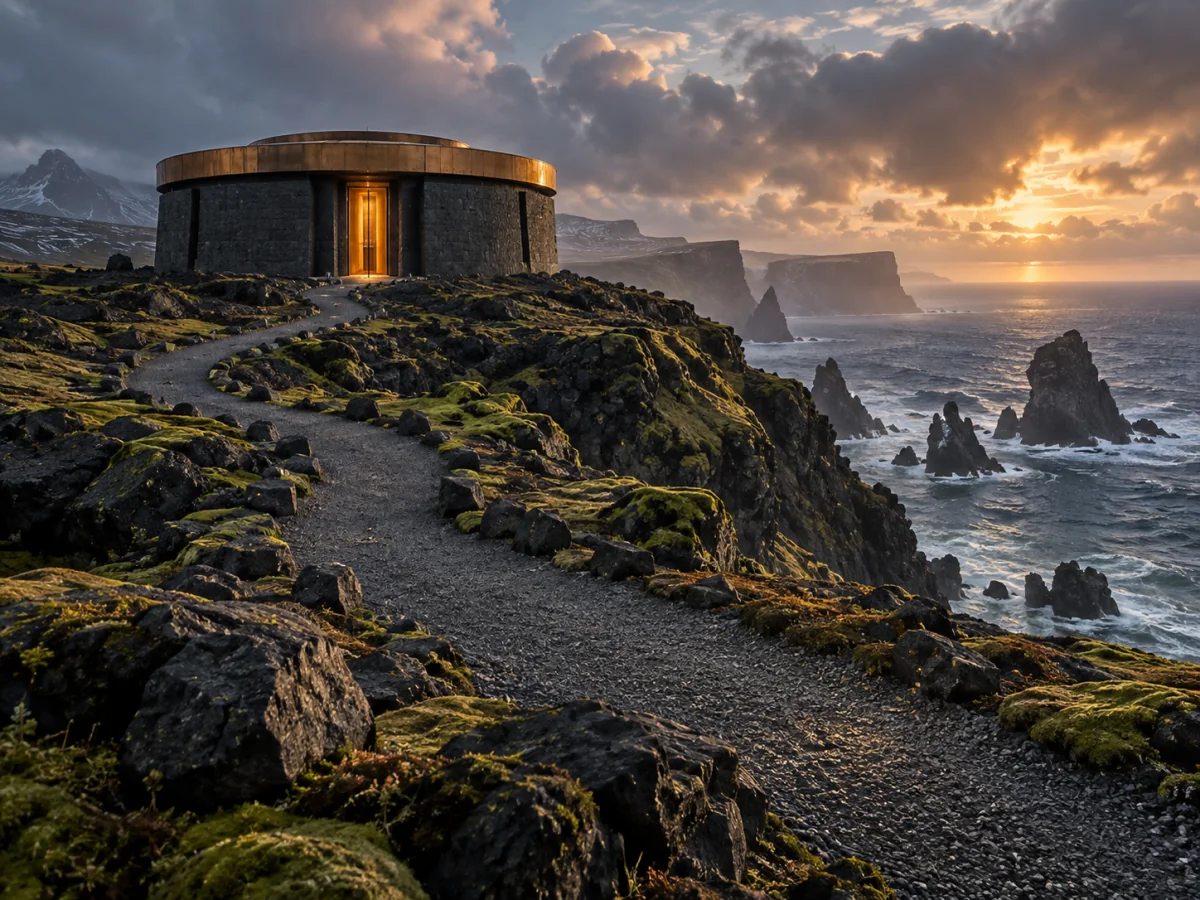
A scene becomes easier to evaluate when its important relationships are explicit. For a coastal observatory, specify the building position, the entrance facing the path and the sea visible behind it. Tell Flux 3 Image where the viewer should look first and how much space the surrounding environment should occupy. If the image is for a website hero, leave a calm area for text that will be added in the final design. This turns a broad request for beautiful architecture into a brief with concrete composition decisions you can check in the generated image.
Separate subject, setting and material guidance
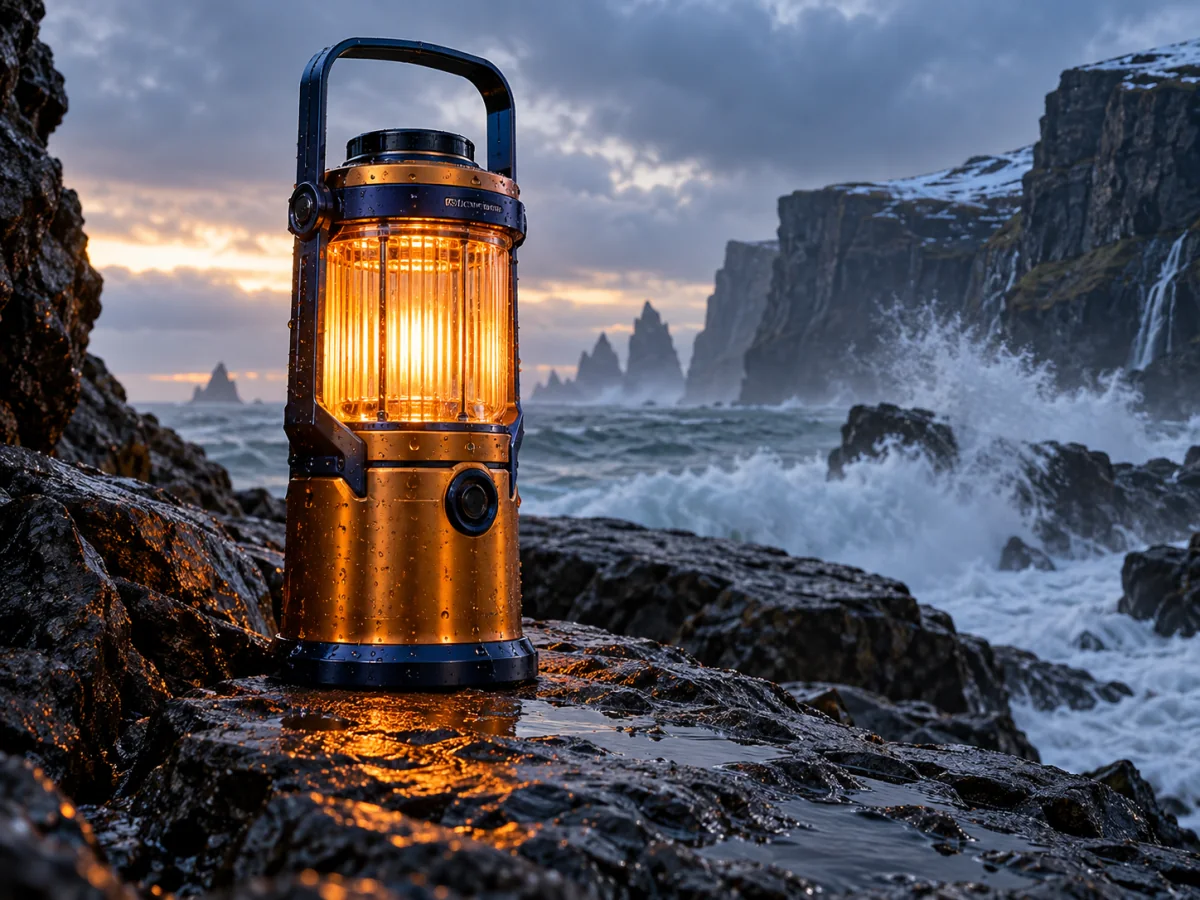
Use references to communicate details that are already decided. A lantern image can establish the object, a coastal photograph can suggest the setting, and a material reference can indicate the finish. In the Flux 3 Image prompt, explain what each selected picture contributes and identify the highest-priority details. Avoid adding images only because slots are available. After generation, inspect the object proportions, placement and materials as well as the overall mood. Reference guidance is most useful when the result is compared against a specific brief, not simply accepted because it looks polished.
Explore a visible change without losing the brief
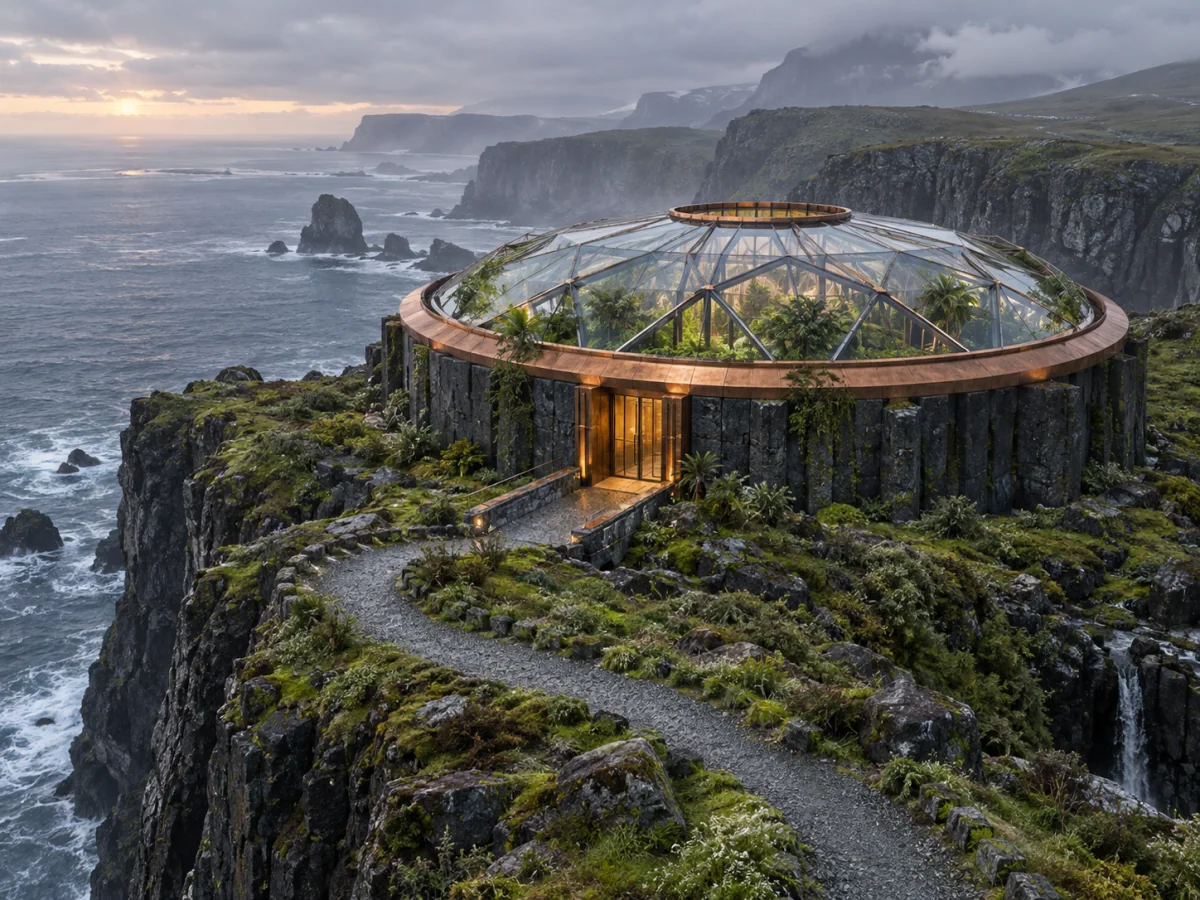
To develop an existing idea, describe the new version in relation to the original. A circular observatory might become a planted greenhouse with a transparent roof while retaining its location and entrance. Flux 3 Image accepts the original image as visual context and the text as direction for the revision. Review both the requested transformation and the details that should remain recognizable. For a subsequent attempt, focus on the most important unresolved issue, such as roof structure or interior visibility, rather than introducing a new style, camera position and setting all at once.
How to use Flux 3 Image
Prepare a clear brief, choose the supported settings and review your image result on Jev AI.
Write the scene and its priorities
Describe the central subject, the environment and the relationships between them. Add composition, lighting and material details that support the intended use. Flux 3 Image allows up to 5,000 characters here. Use that space for meaningful instructions, including exact requested wording when text is part of a concept, and plan to proofread any generated lettering.
Choose the relevant references
Select up to ten PNG, JPEG or WebP images. Each file can be up to 10 MiB, with a 100 MiB combined limit. References are optional. When you include several, explain their roles in the prompt and remove pictures that conflict with the subject or composition you want.
Set the canvas and check the estimate
Choose Auto or an available aspect ratio and select 1K, 2K or 4K resolution. Auto and 1K are the current defaults. For a layout with a known destination, choose an explicit ratio rather than assuming Auto will match the required format. Review credits on Jev AI and sign in before generating.
Review the complete picture
When the request finishes, inspect the result at a useful size. Check the relationships named in the prompt, object details, composition and visible words. Download an approved version. If the image needs another attempt, make a focused adjustment and review the new estimate before submitting again.
Flux 3 Image questions and answers
Practical answers about Flux 3 Image inputs, creative choices and the controls available in this Jev AI workspace.